Thursday, April 17, 2014
How to Weld Stainless Steel With Stick Welder
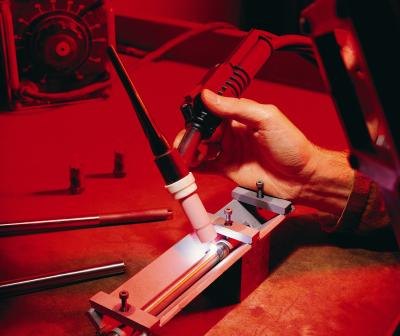
Stick or ARC welding stainless steel requires the use of a welding rod that is compatible with the chemical makeup of the stainless steel you are welding. You can use a higher purity stainless steel welding rod for lower grade stainless steel, but not vice versa. For example, a 316L rod can weld 304-grade stainless steel, but you cannot produce a weld with structural integrity using a 309L rod to weld 316-grade stainless steel; this is due to crystalline structures that form in the weld joint.
Instructions
- 1
Place the two pieces of stainless steel flat on the welding table, with the sides that need to be welded resting 1/16 inch apart. Secure the pieces of stainless steel by clamping them to the welding table with self-locking clamps.
2Turn on the ARC welder and adjust the amperage for the size thickness and type of stainless steel welding electrode you are going to use to weld the stainless steel.
3Put on your safety glasses, welding helmet and heavy leather welding gloves. Clamp a stainless steel welding electrode in the stinger of the ARC welder and connect the ARC welders ground clamp to the welding table.
4Align the welding electrode with the joint between the two pieces of stainless steel and lower your welding helmet.
5Strike and lift the welding electrode on the stainless steel joint to start the ARC between the stainless steel pieces and the welding electrode.
6Work the electrode over and down 1/8 inch, then back over the weld joint to weld the two pieces of stainless steel together.
7Remove your welding helmet and tap the weld with the chipping hammer to remove the slag from the stainless steel weld.
8Allow the weld joint to cool thoroughly before you handle the welded stainless steel--the weld joint will be hot and can cause severe burns.

Sunday, November 3, 2013
How to Remove Burrs From a Stainless Steel Product With Files

The process of cutting and forming stainless steel creates sharp thin burrs on the edges of the metal. Removing the burr from the edges of a stainless steel part will eliminate painful cuts to people handling the material. A properly used file will remove a burr from stainless steel without leaving a jagged edge. Jagged edges form when the file binds against the edge of the stainless steel. This creates a serrated edge that destroys the edge of the metal and creates additional cut hazards when handling the material.
Instructions
- 1
Set the stainless steel product on a work table. Fold a towel in half and place it on top of the stainless steel with the edge of the towel 1 to 2 inches from the burred edge of the stainless steel.
2Slide the top leg of a C-clamp over the towel covering the stainless steel and the bottom leg under the worktable edge. Turn the C-clamp handle clockwise to secure the metal to the work table.
3Hold one face of a flat file on top of the burred stainless edge. Tilt the file 15 degrees from the stainless steel products top face.
4Slide the file along the burred edge as you push the file slowly away from you. Continue along the burred edge until no visible burr remains. Release the C-clamp from the stainless product. Flip the product over. Replace the towel over the stainless steel. Position and tighten the C-clamp to hold the metal.
5Slide the file along the stainless steel while aligned at a 15-degree angle to remove the remaining burr. Hold one face of the flat file perpendicular to the front edge of the stainless steel product. Slide the file along the front edge of the stainless steel to remove the last of the burr from the metal.